")
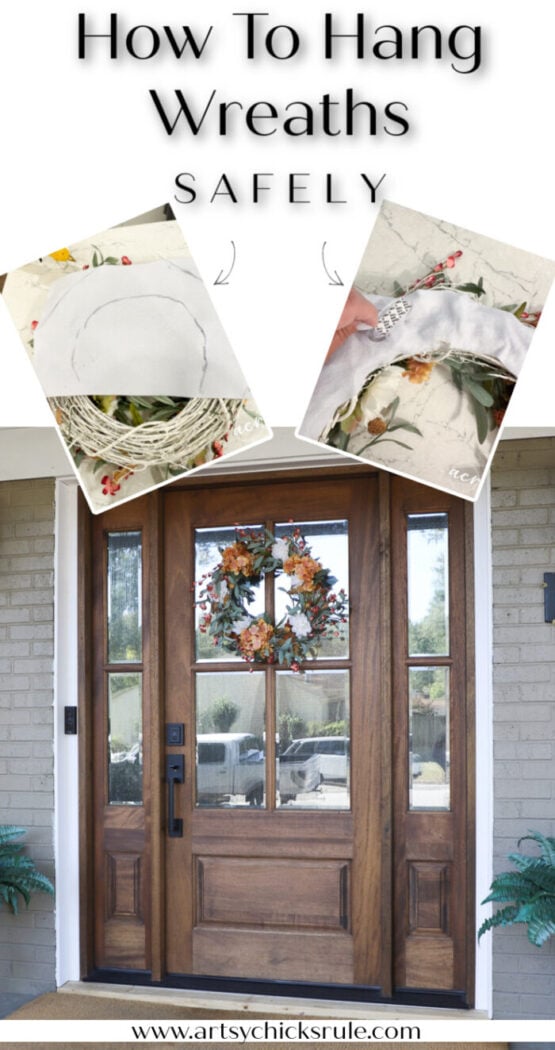
How to hang a wreath on a wood and/or glass door!! Simply and safely! (plus, make your very own fall wreath!)
Hello dear friends!
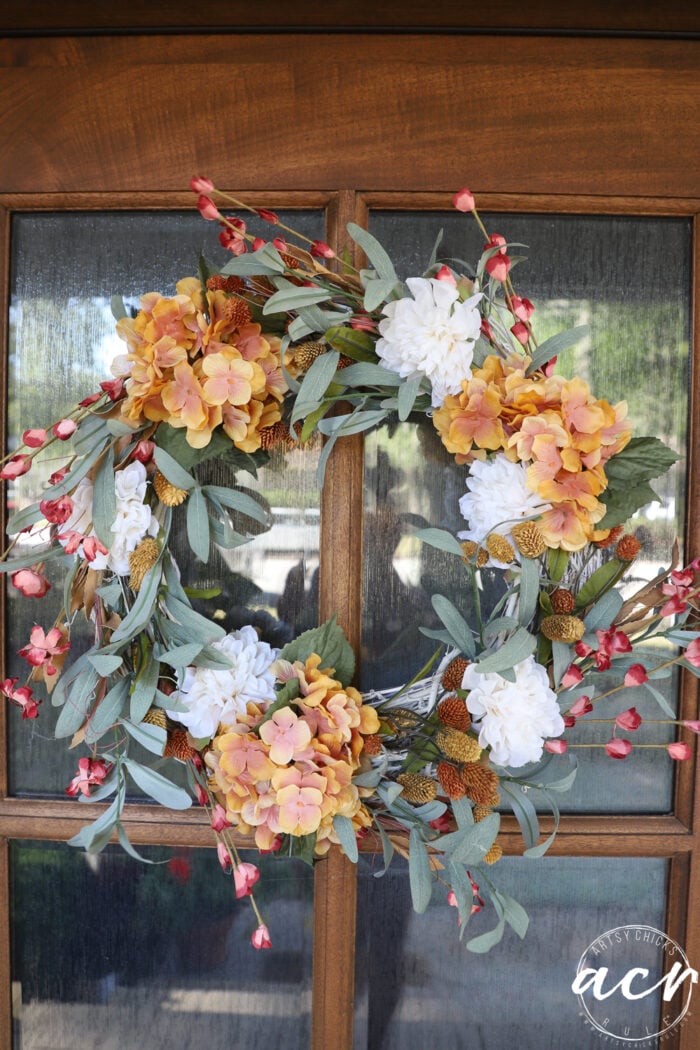
I’ve made a new wreath! It’s been a while so yes, it’s a little exciting. haha! I have made a bunch over the years (see here) but decided I’d make a new one for our new front door.
BUT I wasn’t sure how I’d hang it.
Our old front door was solid wood (painted) and had a glass storm door. So all of the wreaths were just hung on the glass storm door. I would loop fishing line around the top middle piece that sticks out on the inside of the storm door and hand it down over the front. Perfect!
But now we have a glass and wood-stained door so I was not about to 1. put a hole in the wood, or 2. hang something overtop of the wood that would scratch the door, and 3. have the wreath itself scratch up my pretty stained wood.
So I’ll show you how I made the wreath and how I decided to hang it to protect the door!
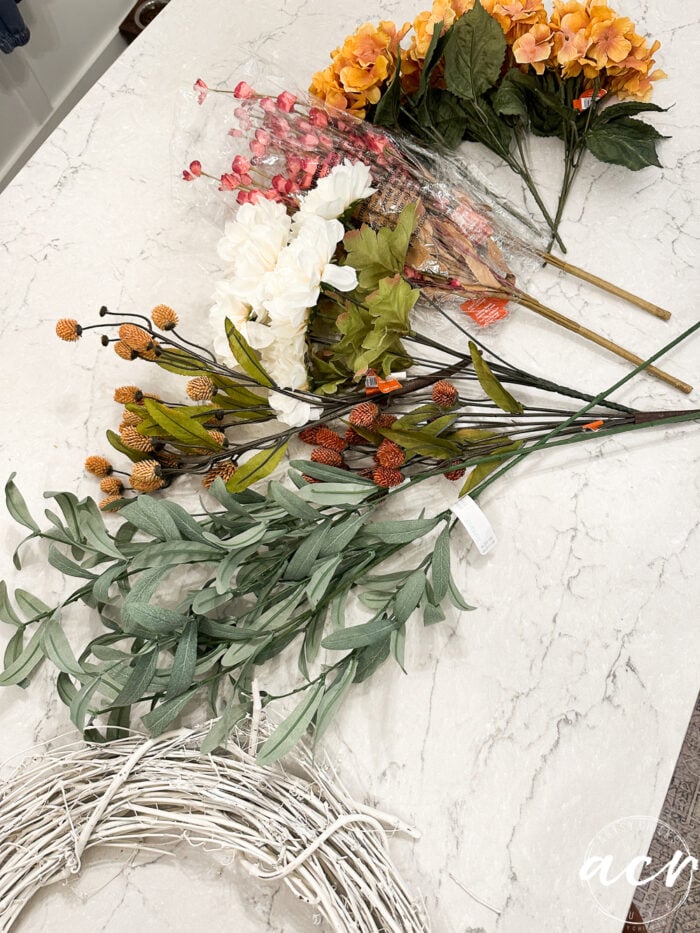
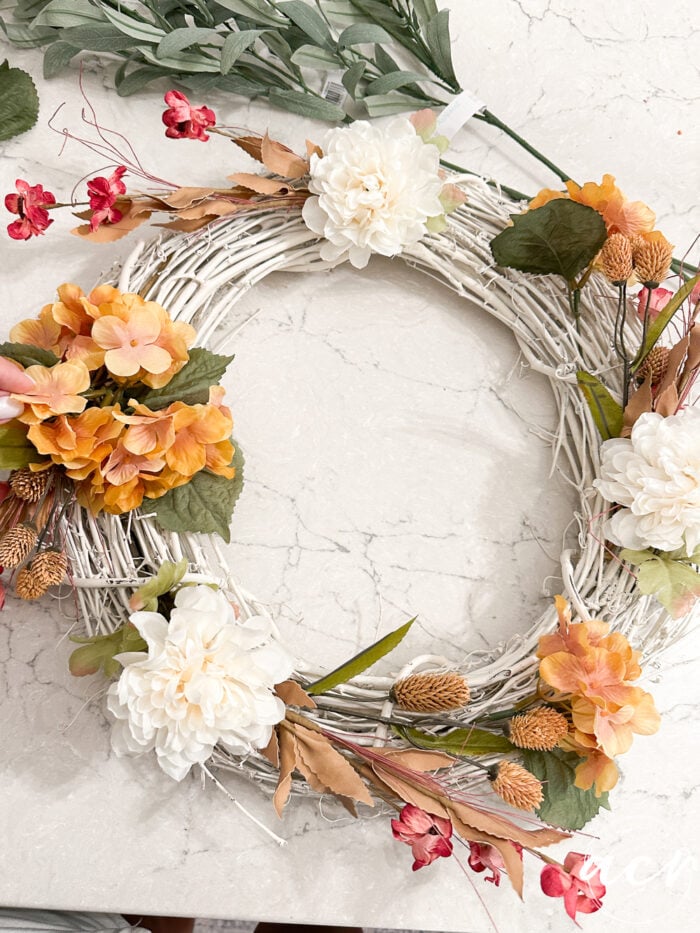
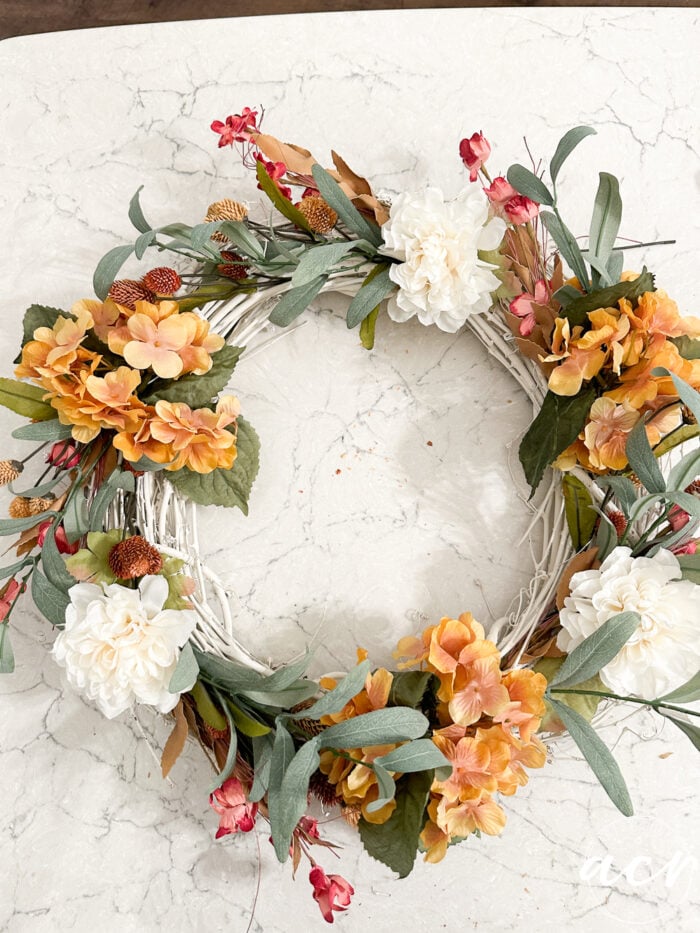
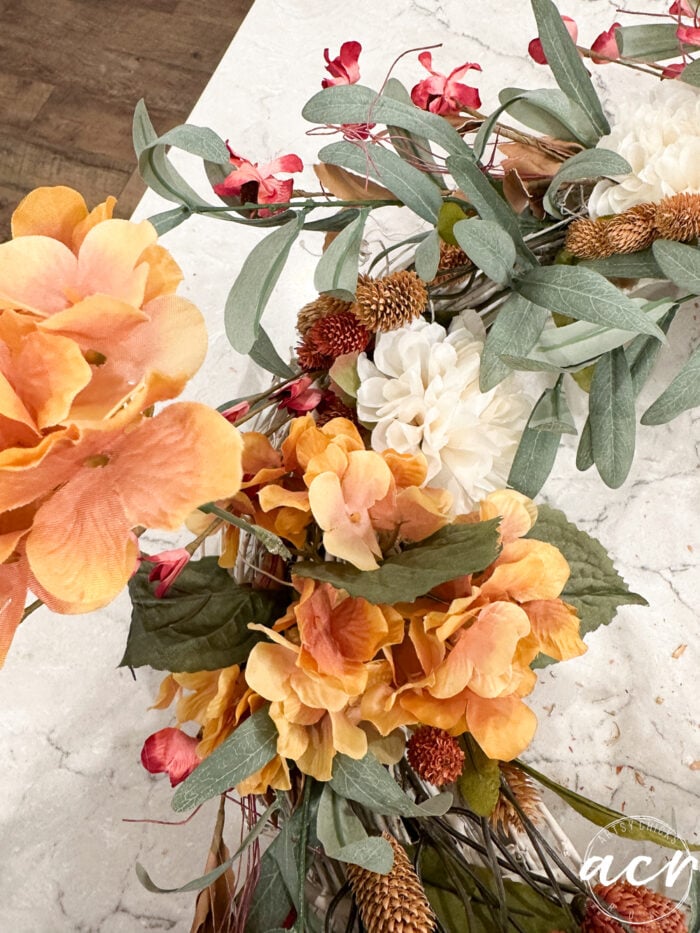
So here is what I bought to work with. I loved these colors and thought they’d make a pretty wreath.
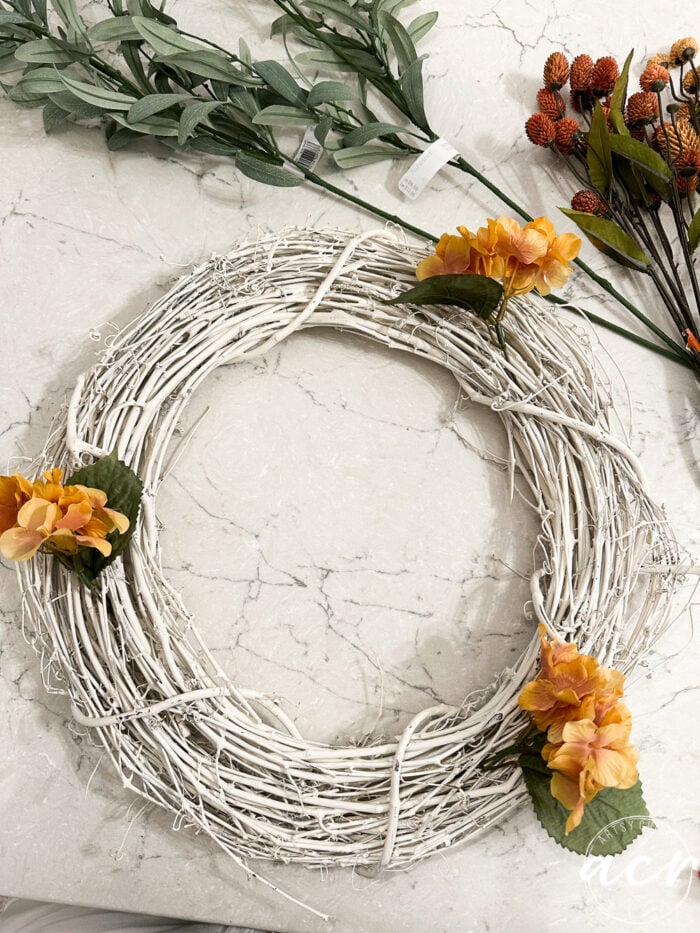
I always start my wreaths with the largest flowers, placing them around the wreath somewhat evenly.
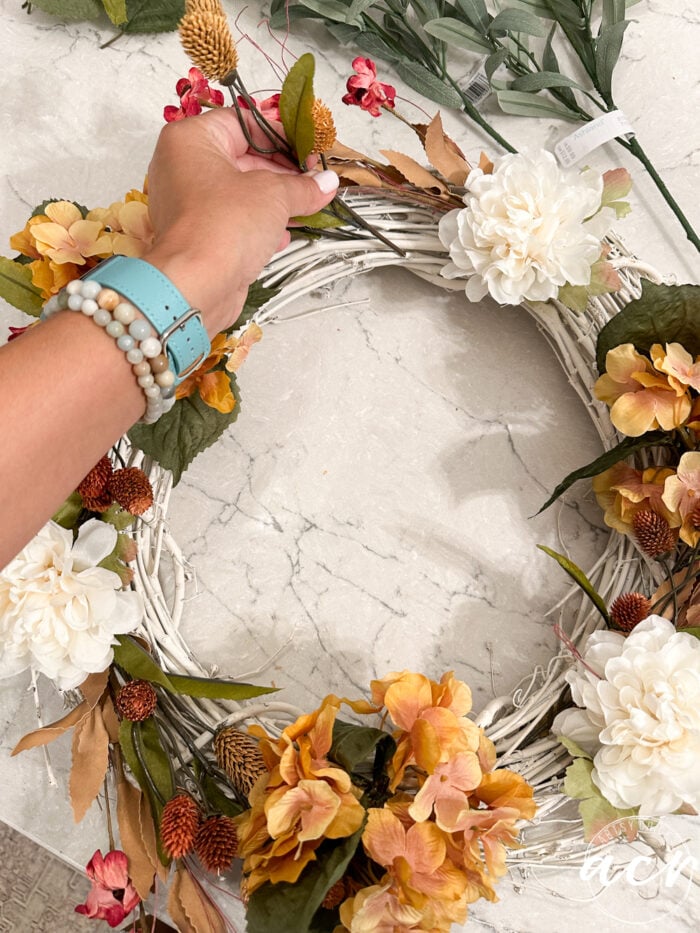
Then I go to the next bunch and add them around accordingly. (no rhyme or reason, just what I think looks good)
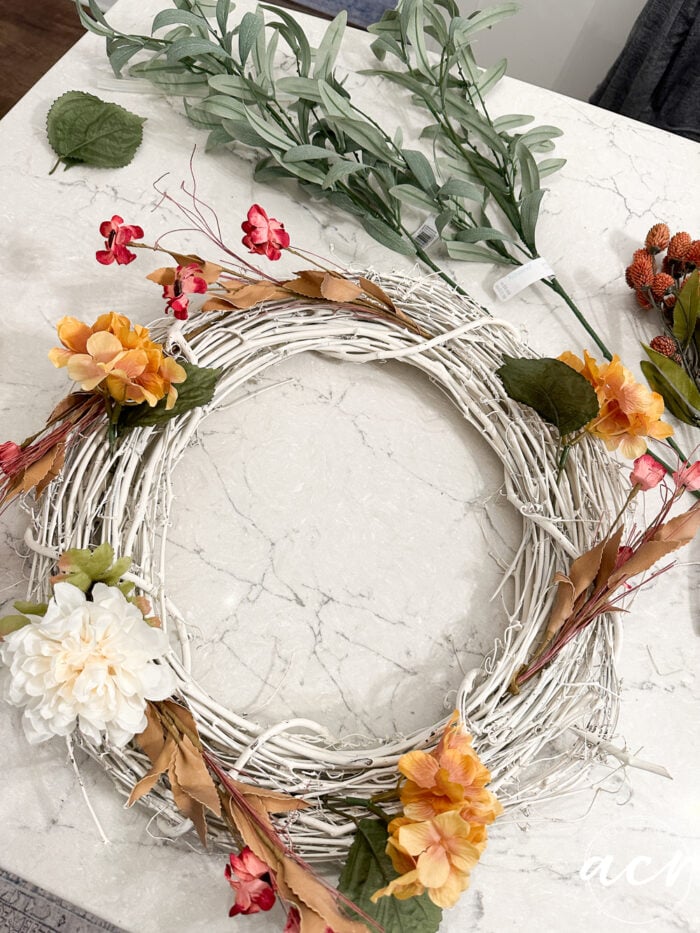
Except there is a bit of rhyme and reason, I suppose. In that, I try to space them and add them all following a bit of a pattern as you can see above and below.
I decided to add to the hydrangea sections as they were a bit too small for my liking.
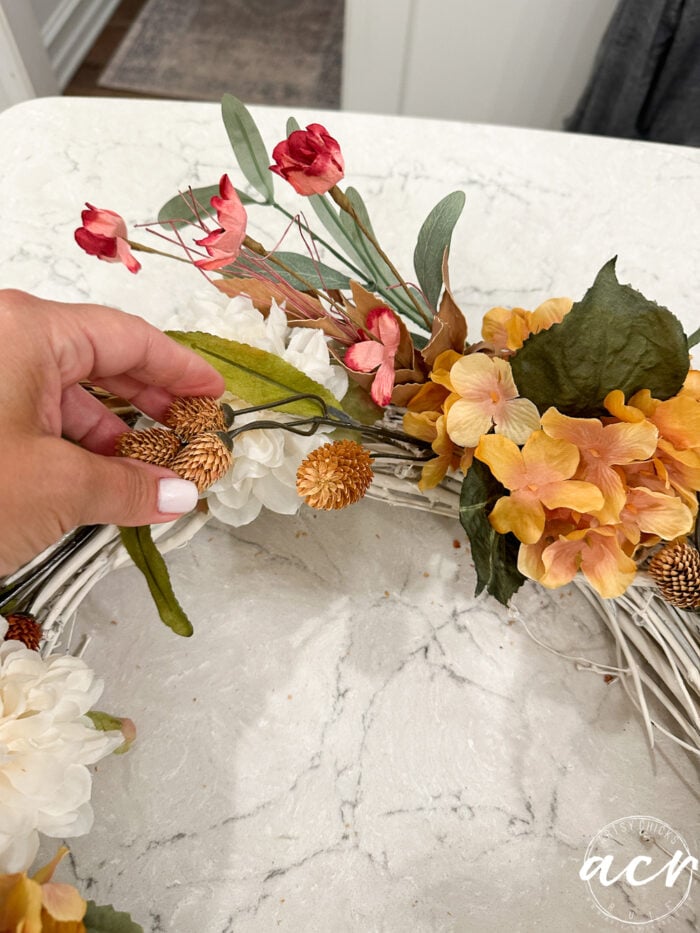
Then I added these (I’m not sure what these are called) in and around. (sort of pine cone-ish looking)
I got two different colors of them.

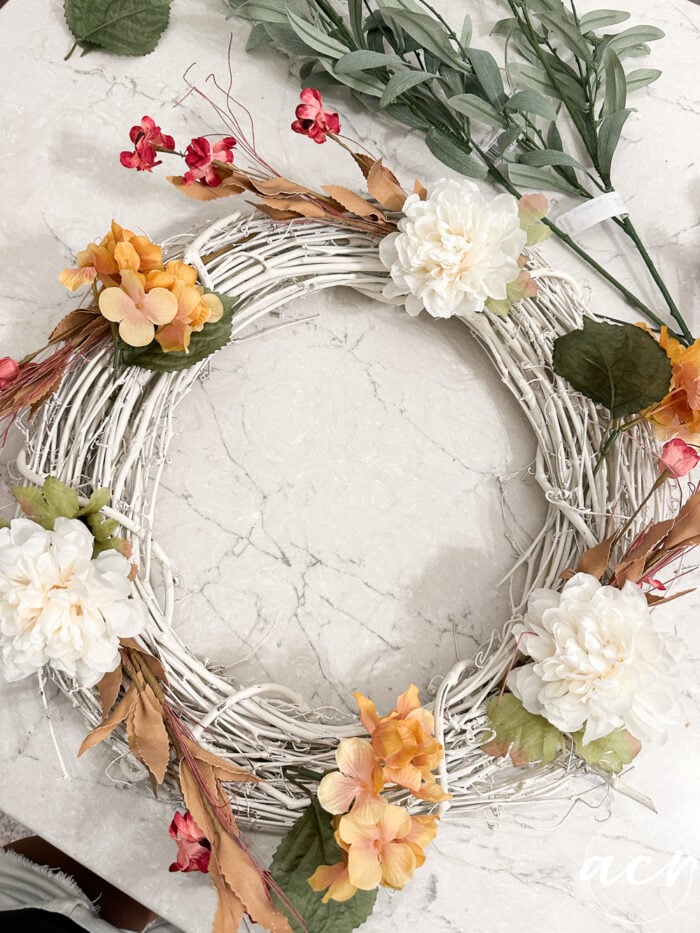
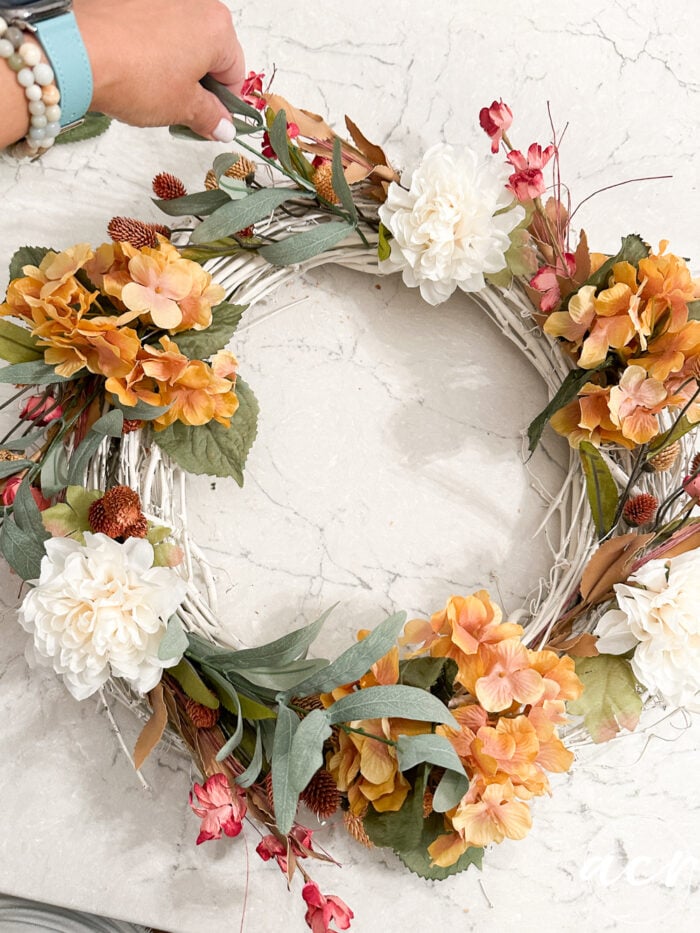
Now you can see that it is coming together and starting to look like something.
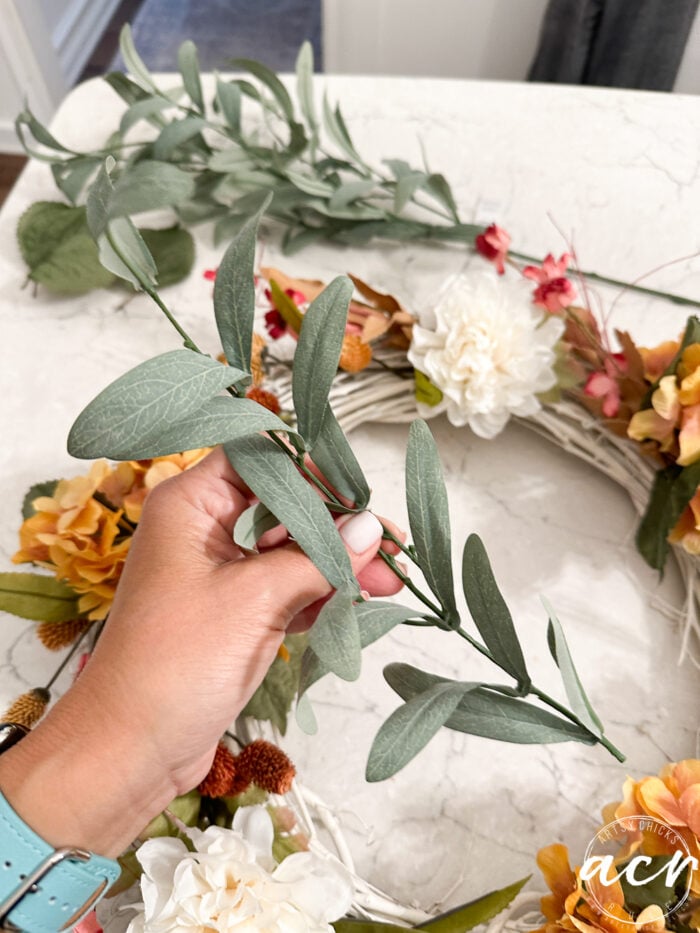
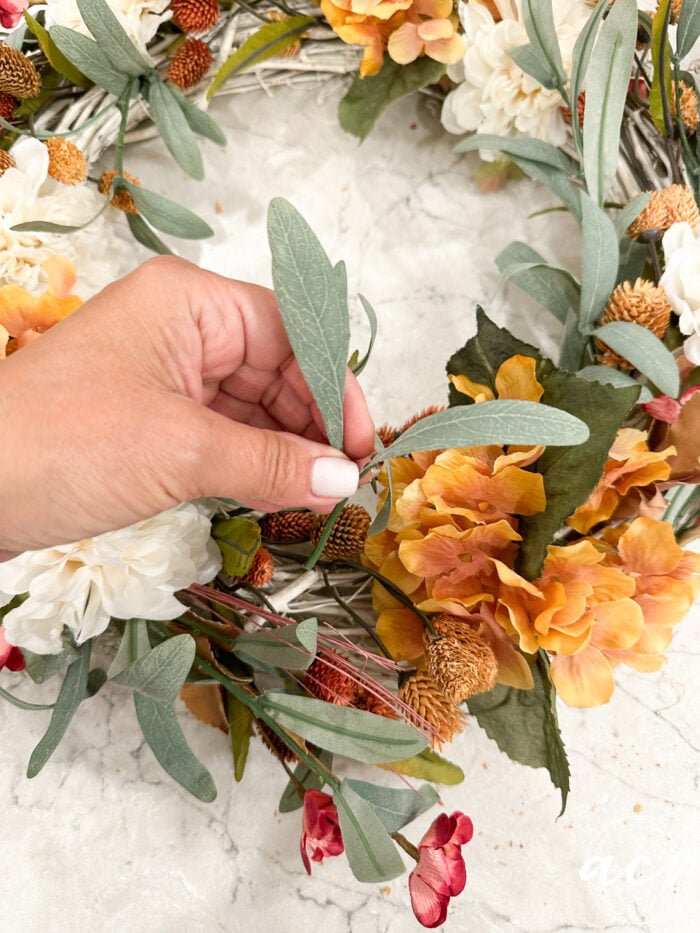
I found these in the regular floral section (not the “fall” floral area) but loved the color.
They just felt “fallish” to me.
Aren’t they so good??
They finished it off perfectly, I think!
However, it’s a bit wimpy. lol
It needs more. More of just everything.
So, since I’m good with how I have everything laid out, I went ahead and used my hot glue gun to secure each piece.
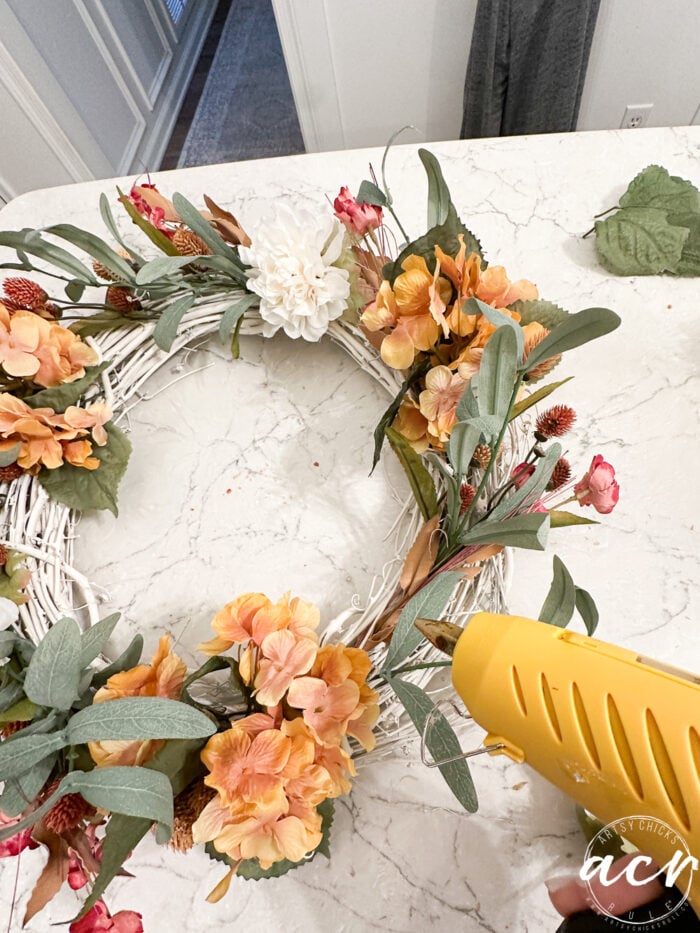
I do it this way because I never know how I’m going to create a wreath when I start and this way I can move things around before I commit.
And now adding a few extras here and there to plump it up.
Adding even more to the hydrangea sections.

Yes, much better!
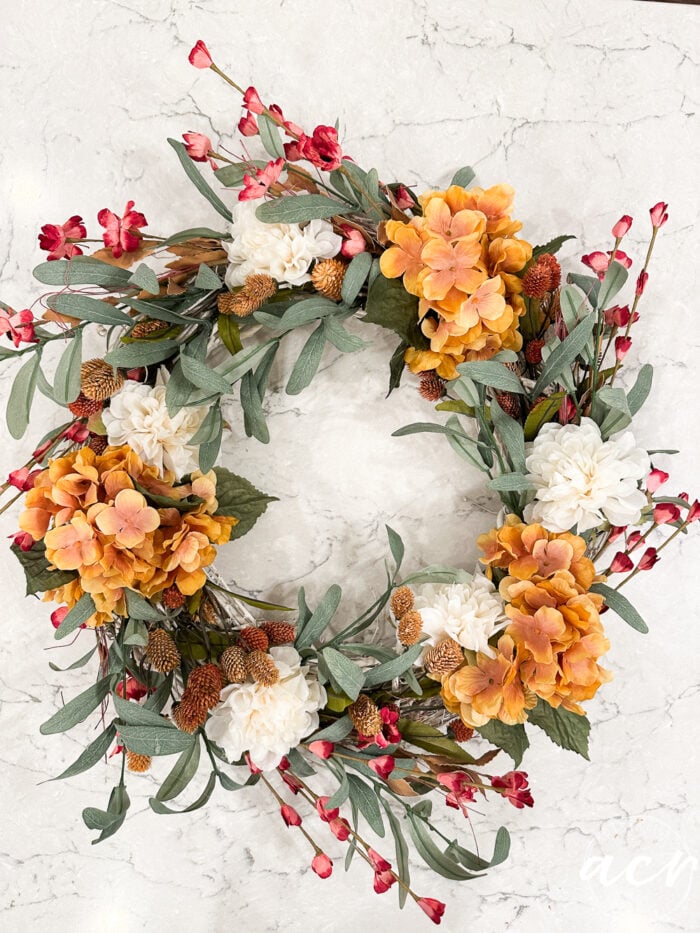
I’m very happy with that!
How to hang a wreath on the door…securely and safely.
Okay, so let’s talk about what I came up with to hang the wreath on the door.

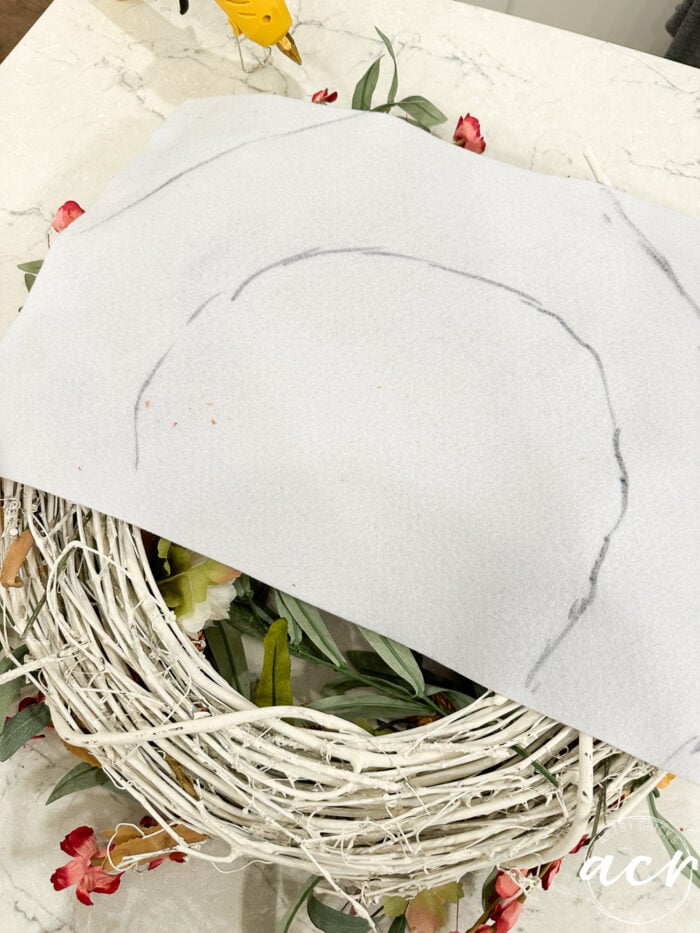
I picked up some of this felt at Michael’s.
Then laid it on the back of the wreath and marked it where it needed to be cut to cover the back of the wreath.
Once I did that with both sides and cut it out…
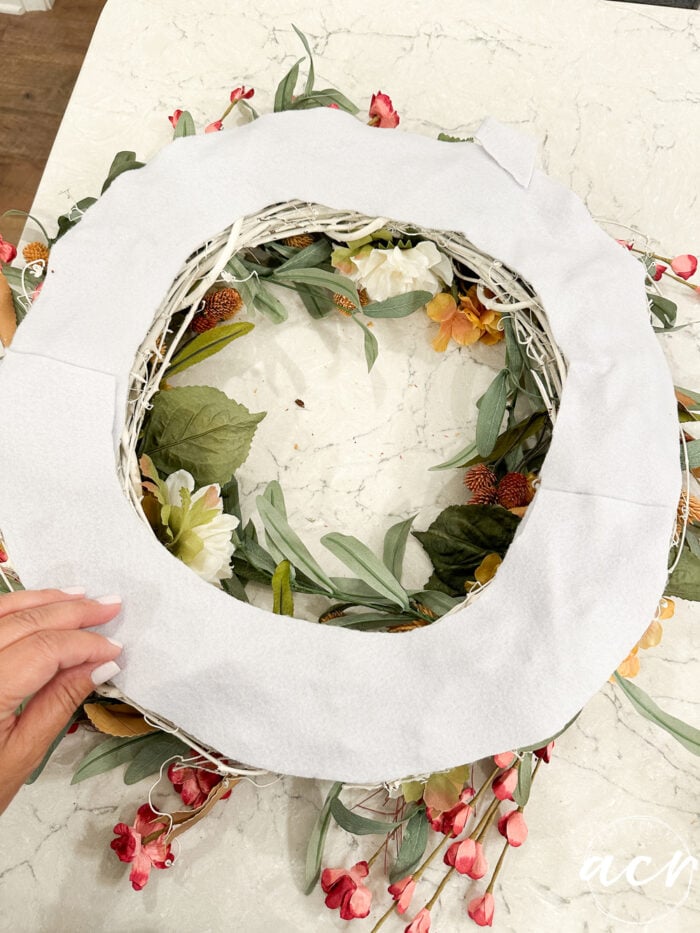
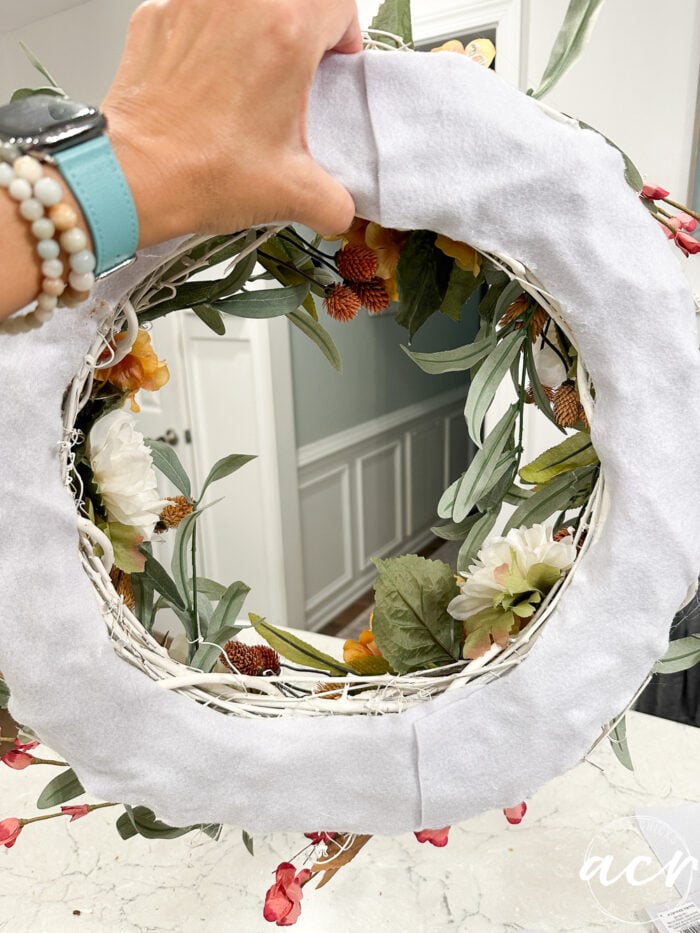
… I used hot glue to attach it to the wreath.
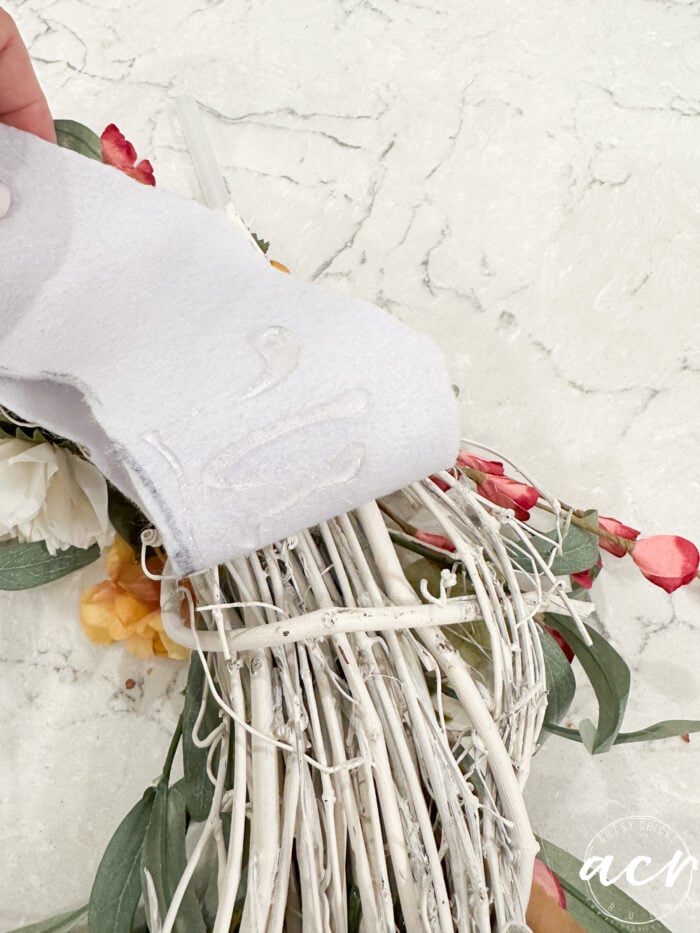
All the sharp pieces are covered and nothing to scratch the door! Yay!
I am sure there might be better ways to do this but I haven’t found them. If you know of something, let me know in the comments!
But for me, this was pretty simple and works great!
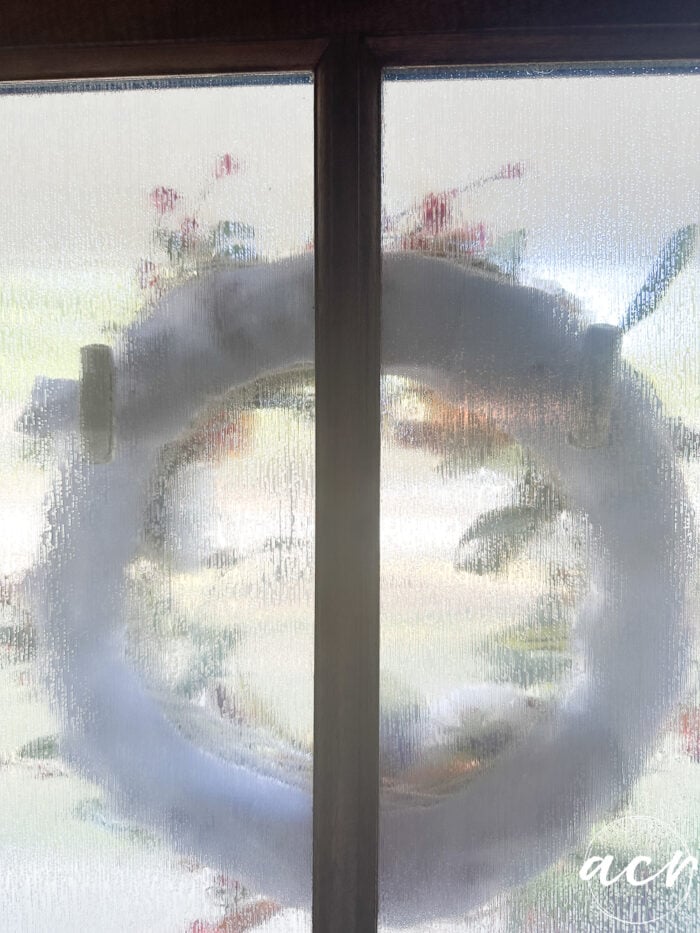
This works well to protect your door whether it’s painted or stained. Now I’ll show you how I hung the wreath on the glass and secured it.
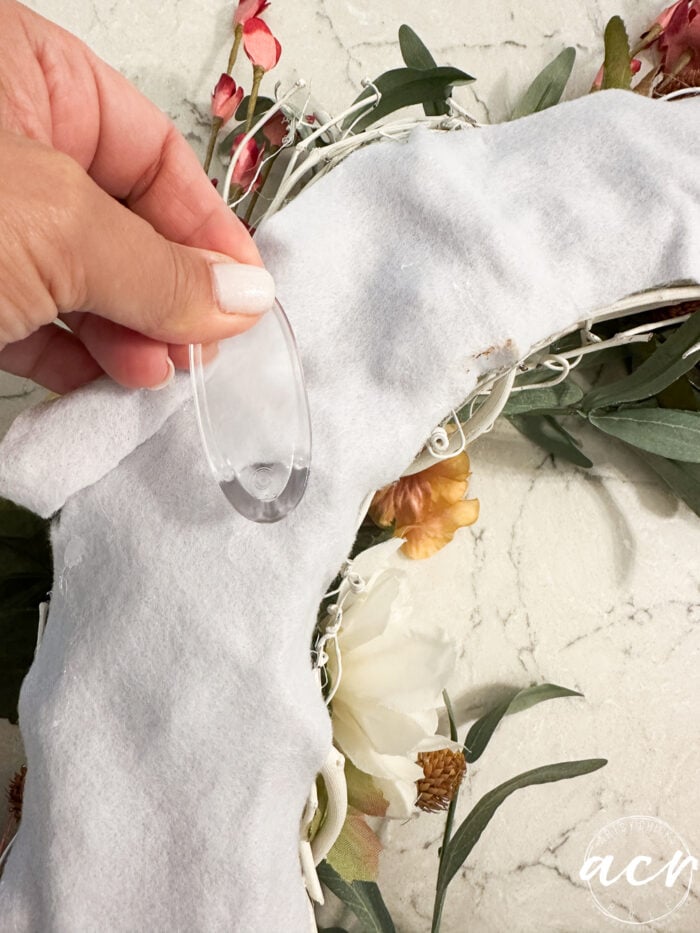
I made a hole in the felt and stuck these in Command hooks in on each side. (securing in the twine, not just the felt)
I ended up using some white Command hooks I had that had a bit deeper hook area. They were a little more secure feeling.
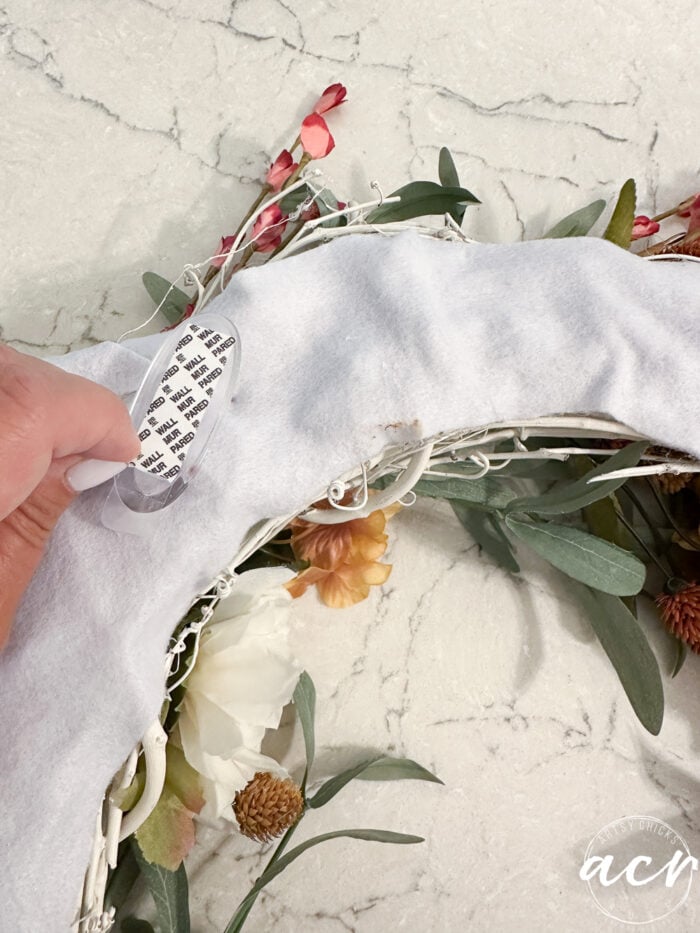
AND the velcro style (below) 3m tape was definitely more secure than the clear “tape” style photo’d above. (here it is from behind)
I saw these other styled adhesive hooks when I was getting the links for what I used above. They look they might work well too! I will have to try them next time.
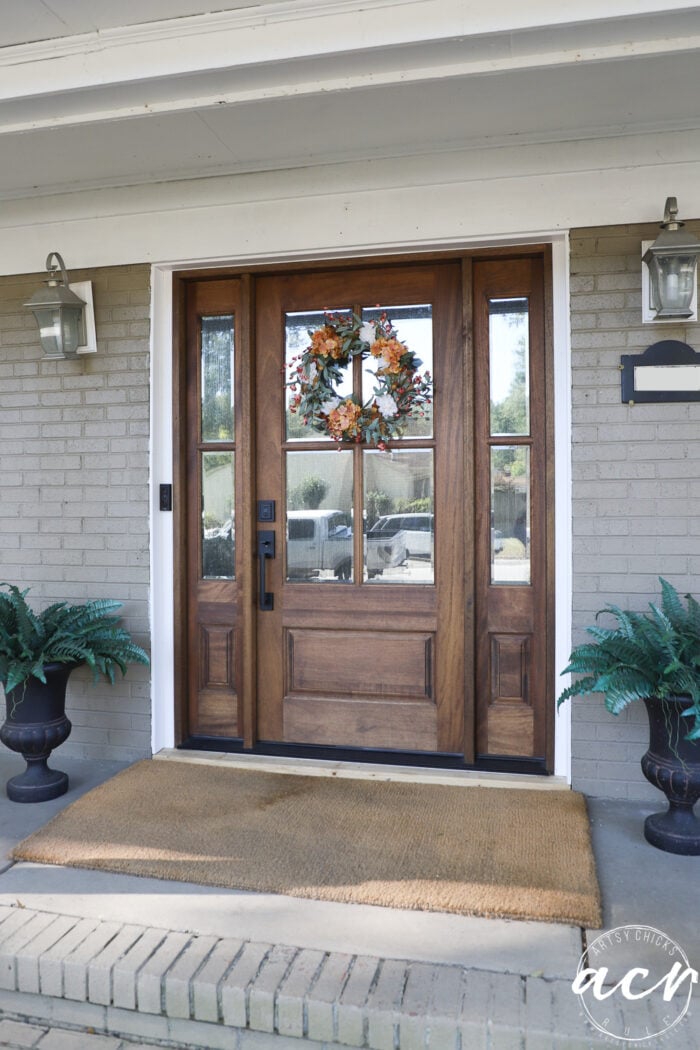
And here it is on the door…

Want to see updates on what we have planned besides this new front door?? If you missed it, I shared all about it in this post. Paint colors, house mock-ups, and more so go check it out!
You might have noticed my husband finished the trim around the door since my last post about the door.
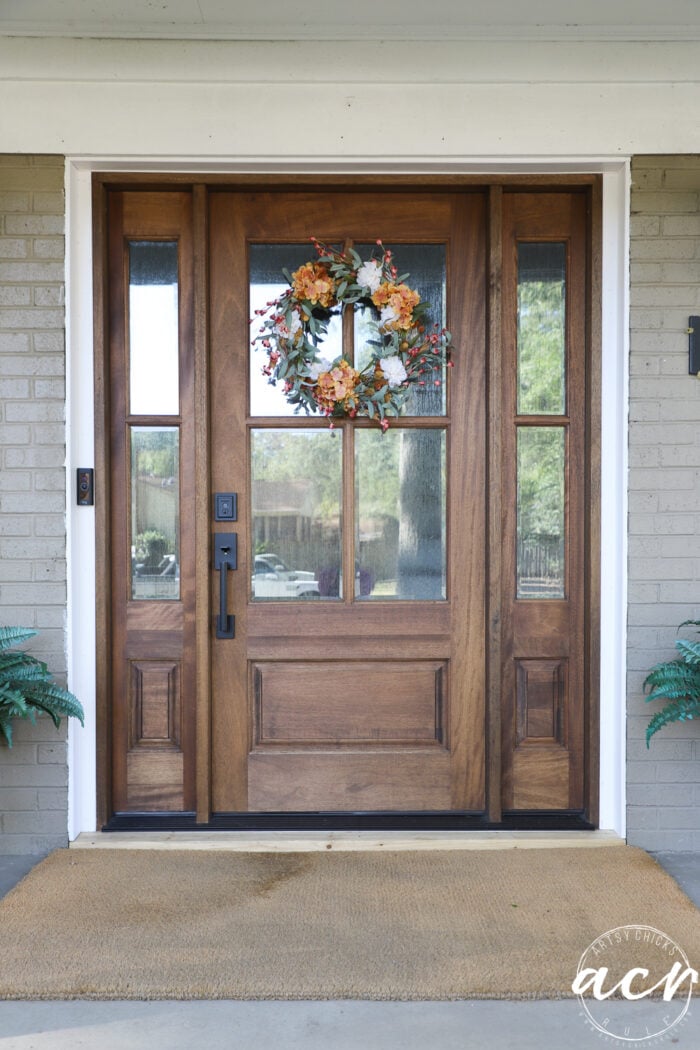
I’ve still got to do some caulking…and then paint!! Can’t wait!
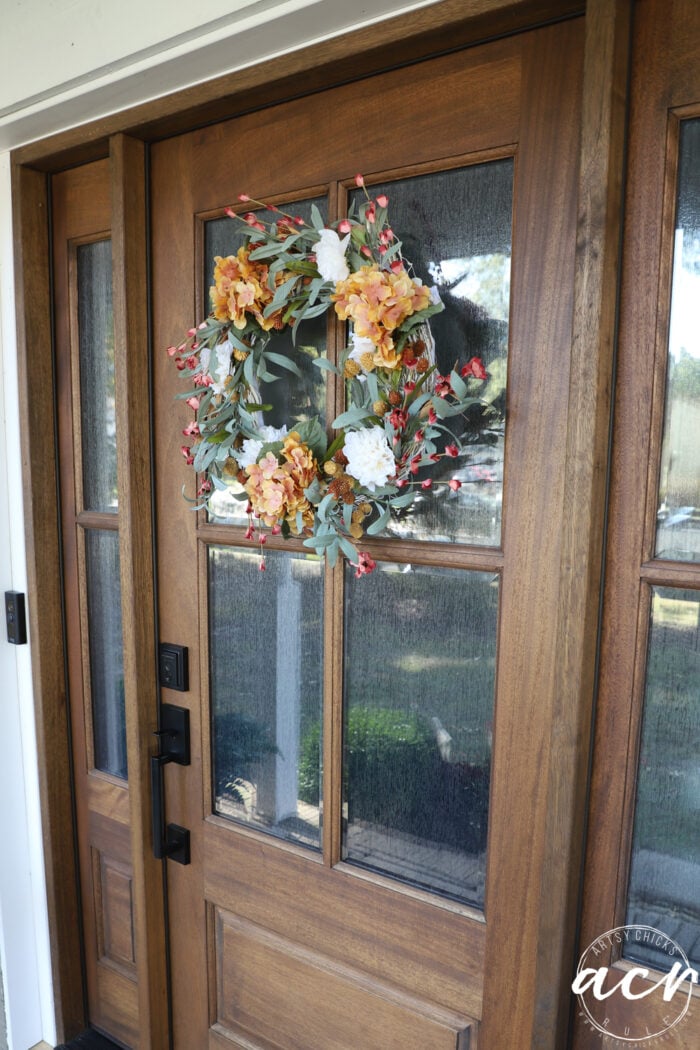
No worries about scratching the wood with movement.
And the hooks stay on the glass very well too.
I was worried I might not be able to have a wreath on this new door! So glad I worked it out.
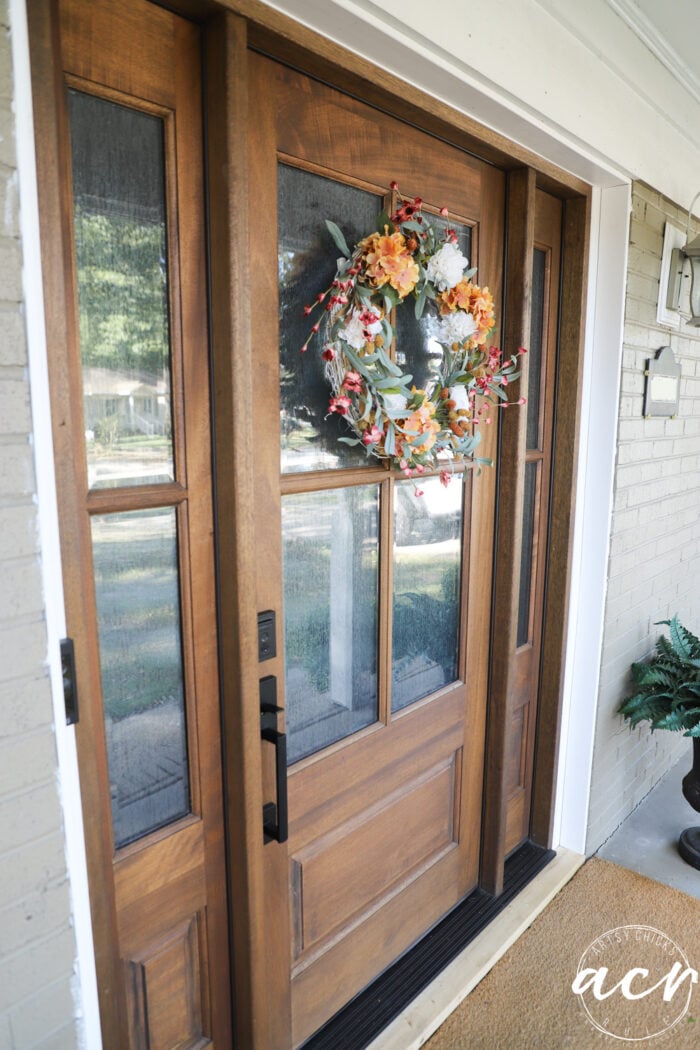
I might try a larger wreath next time and maybe hang it more in the middle.
Will give that a go for spring!
PIN it to save it!
xoxo
Have a wonderful weekend, friends!!
